Quite some years ago, I used to have an Apple blog called AppRecap. It contained a bunch of Apple-related news, but I also reviewed a load of iOS and macOS apps.
Well, today I realised that I had a backup of the website stored in Digital Ocean, and wanted to do some digging to see what was actually backed up. I did a small tweet thread on my initial findings, but I wanted to put something here on my blog so I have at least some reference to my old blog. Mainly because I plan on deleting the backup as it's costing me money.
Some general things I noticed:
- I loved apps with dark mode. And if an app added one, that usually granted a blog post.
- My most used Mac apps were either super minimal or lived entirely in the menu bar.
- I thought the iPad Air 2 was "powerful".
- I really would link to any Apple-related news.
I thought about migrating the entire collection of posts to my personal blog. But that was pretty much stopped when I realised I didn't have the admin password anymore. I then thought that I should at least go through all the posts and add anything that was still useful. Well, I did that. And, well, I won't be migrating anything.
Turns out, what I wrote about for AppRecap was very much only relevant in the moment. That's pretty obvious for news-related posts, but also my experiences with software aren't that valuable to read now, and most of the apps I covered are either substantially different or just plainly not available anymore. Weirdly, I recently wrote about blog posts having an expiry date, and turns out these definitely did.
However, I will share a few snippets, just because they're pretty funny to read again in 2022:
Here is what I wrote about the Single Sign-On feature that was announced for tvOS at WWDC 2016:
It’s a pain to authenticate services on things like the Apple TV, especially when you have to find the app, go to a browser, enter a code, etc.But now with Single Sign-On, you just need to authenticate to a service once, and then apps that require the same authentication, can just access it themselves.I guess this will only be useful for people who use apps from the same company, maybe as part of a television subscription. But if you use individual apps from multiple networks, I can’t see this helping. Maybe it’s different in the US
Not sure about anyone else, but I can't remember actually using this. And I'm not sure if it's still a thing.
On Instagram's initial move to "optimised" feeds:
According to the post, the actual images that are in your feed won't change, however the order of them will be. I guess this is useful for people who follow a stupid amount of accounts, and this could help them find the best posts, but isn't this just a reason to not follow too many people?I'm not a fan of non-chronological feeds for social networks, it's one of the flaws in Facebook, and maybe soon, Instagram. When I use a service like Instagram, all I want to do is to be able to follow accounts that I like, and then see their posts in a chronological order.We should see this new "experience" in the coming months, I certainly hope we don't.
I still feel the same way about this one.
Another on Instagram, this time on a new design and icon (the purple/pink/yellow gradient with the white symbol):
The changes they've made to the actual app are really nice, and I much prefer the new black and white interface.But I do not like the new icon.
Yep, the original icon is still the best in my opinion.
On Siri being added to the Mac in OS X 10.12:
I’ve been anticipating this feature for ages, it makes sense to bring it to the Mac when other companies such as Microsoft have done the same.I’m not sure how much functionality it will have compared to the iOS version, but I would personally think it should do more. However you could say that Siri is more beneficial for handheld devices, as it lets you perform more complicated functions easily. But with a Mac everything is pretty easy anyway, it’s just cool!
I was apparently very optimistic about Siri back then. It's certainly gotten better since then, and I use it semi-regularly on my iPhone and HomePod, but I only ever invoke it on the Mac by accident.
On Twitter thinking about increasing the character limit from 140 to 10,000:
I’m not sure how I think about this at the minute, but my instant reaction was “this is a terrible idea”. I personally think the best thing about Twitter is the short statements, and a quick way of sharing with everyone.I also dislike the thought of scrolling endlessly through massive tweets, but I guess this could be fixed with an expand button for larger ones. This could also get annoying though, as you would be constantly be reading the headings and not real content.
They, obviously, only ended up increasing the limit to 280 characters, which turned out pretty well in my opinion. Although they did add a Twitter Write feature a while ago that added long-form text content, which for some reason, Elon wants to reinvent.
If you've made it this far, then I want to share another little funny story about AppRecap that I've just rediscovered.
So, back when I was writing AppRecap, I was still at university, and not exactly making much money. And for some reason, I liked the idea that I could one day sell a domain name for a high amount of money. That led me to sign up for Sedo, and place the apprecap.net domain for sale.
Well, in March 2016, I got an email from Sedo saying that I had actually successfully sold a domain name. And going by my tweets at the time, this was a bit of a surprise:
I just got a email saying AppRecap has been sold :O. I made it available on Sedo ages ago when I didn’t want to continue with it anymore. Tweet
But then I changed my mind and kept working on it, but forgot to make it unavailable. Is there a way to reject it? Tweet
After digging through my Sedo account and some old emails, turns out I had sold the AppRecap domain name for a whopping £299. But at that time I wasn't ready to let it go.
So I talked with Sedo for a while, and eventually, they ended up cancelling the sale, luckily before the buyer made any payment.
That was around March 2016.
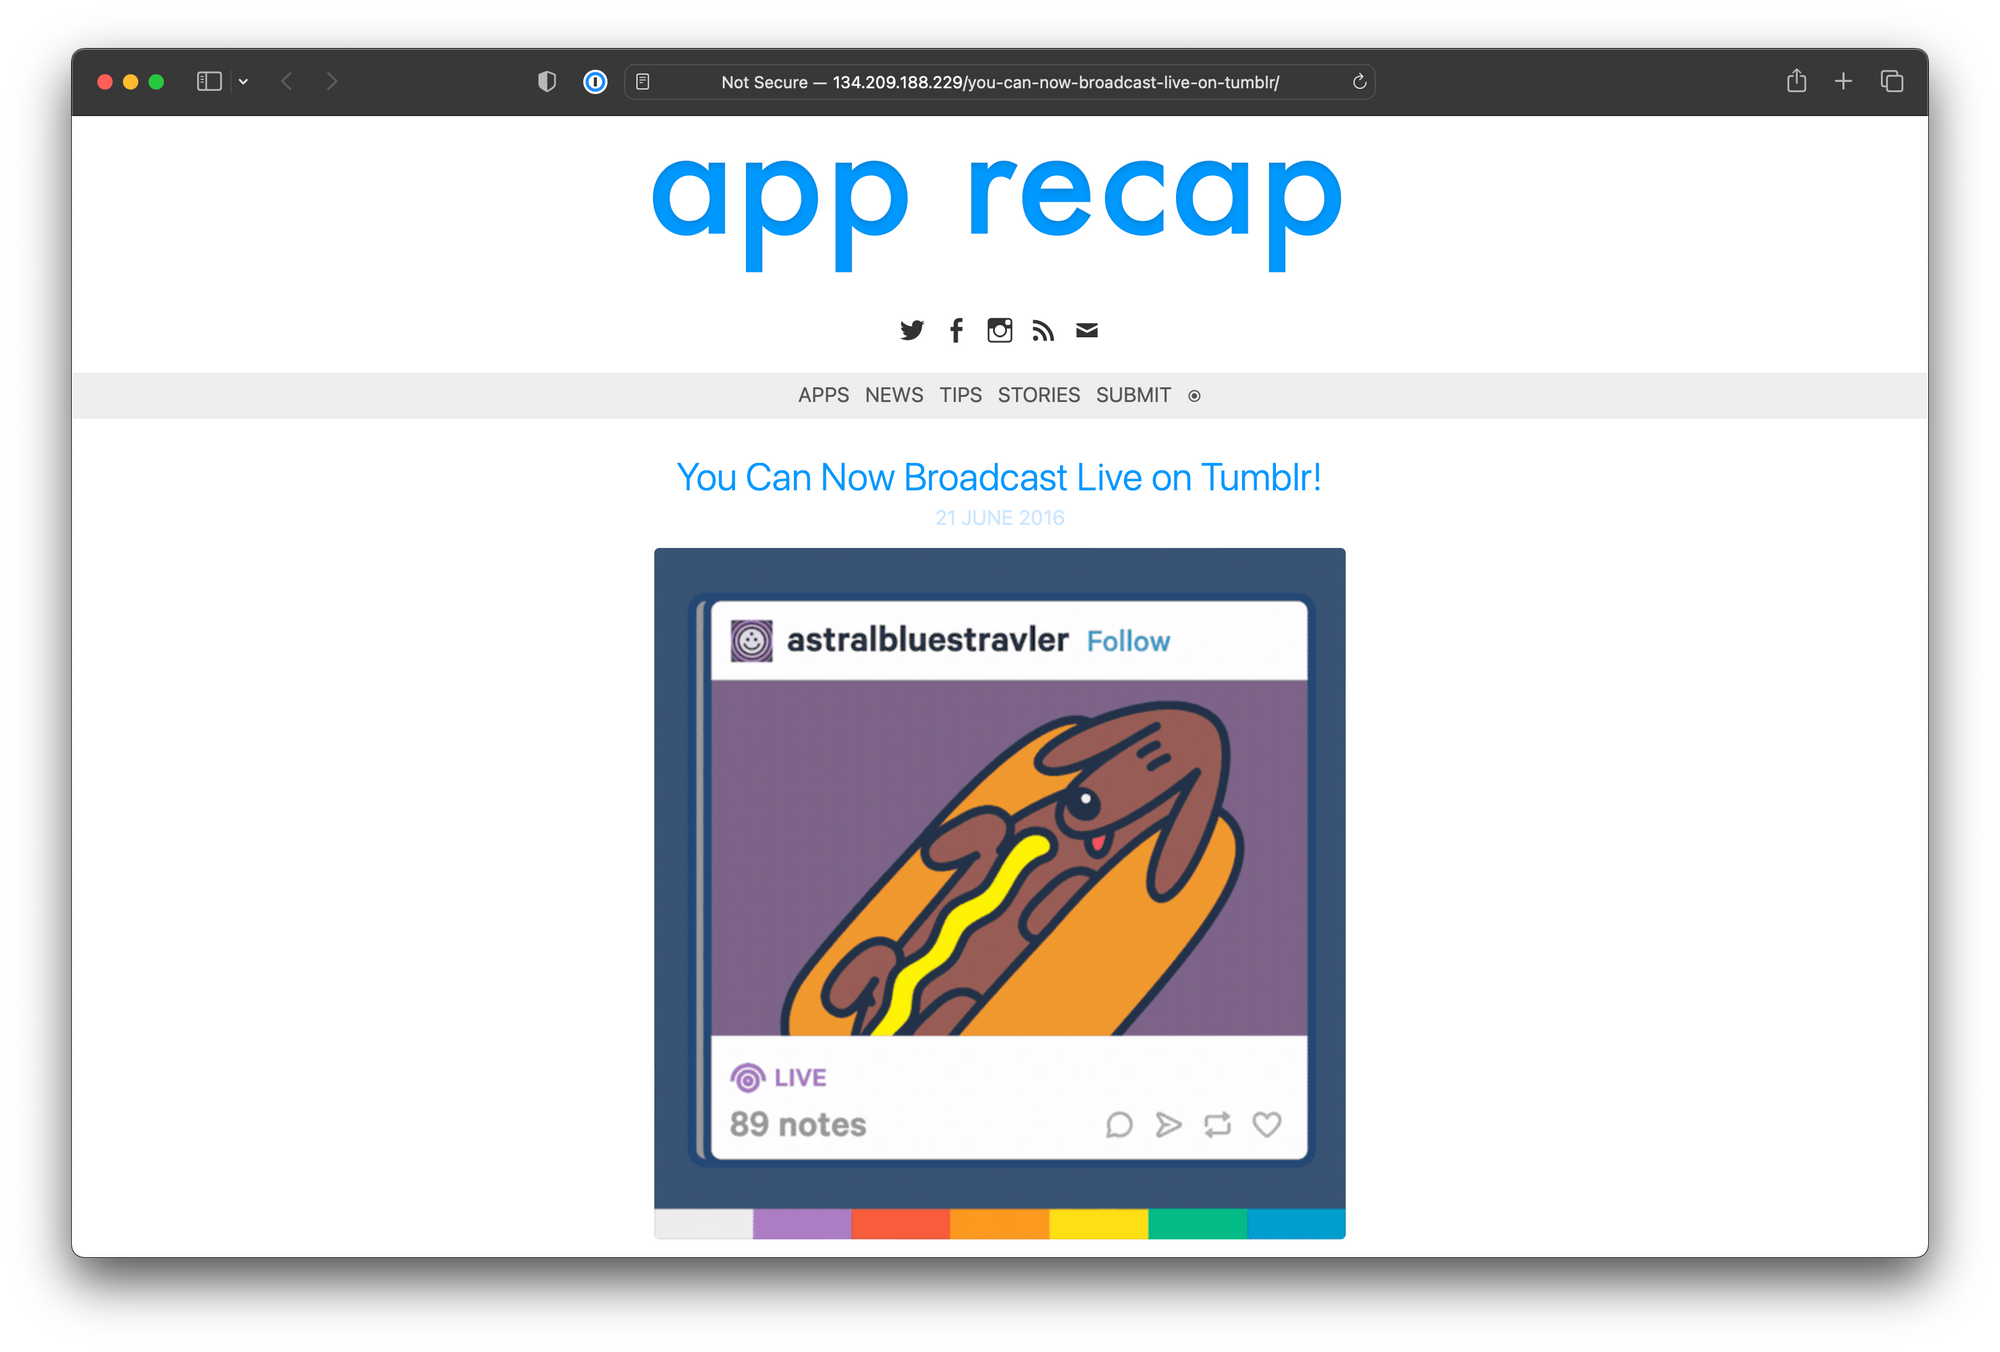
My last post for AppRecap, before starting a new blog called "Radical Thinker" (because I was cool and thought I knew some stuff), was about Tumblr adding live broadcasts, and that was on the 21st of June 2016.
I denied a sale of £299 so I could blog for another 3 months.
Eventually, I decided to stop renewing the domain, and some time since then, it was registered by someone else. Sadly, it's not being used though, as it's been set up to redirect to apprecap.io which doesn't seem to work at all for me.
Going back over this blog has made me remember how much I enjoyed reviewing apps and covering Apple news. Maybe I'd enjoy writing about similar things again. But I have a feeling that it would end up being a lot of effort, and probably not provide enough value.
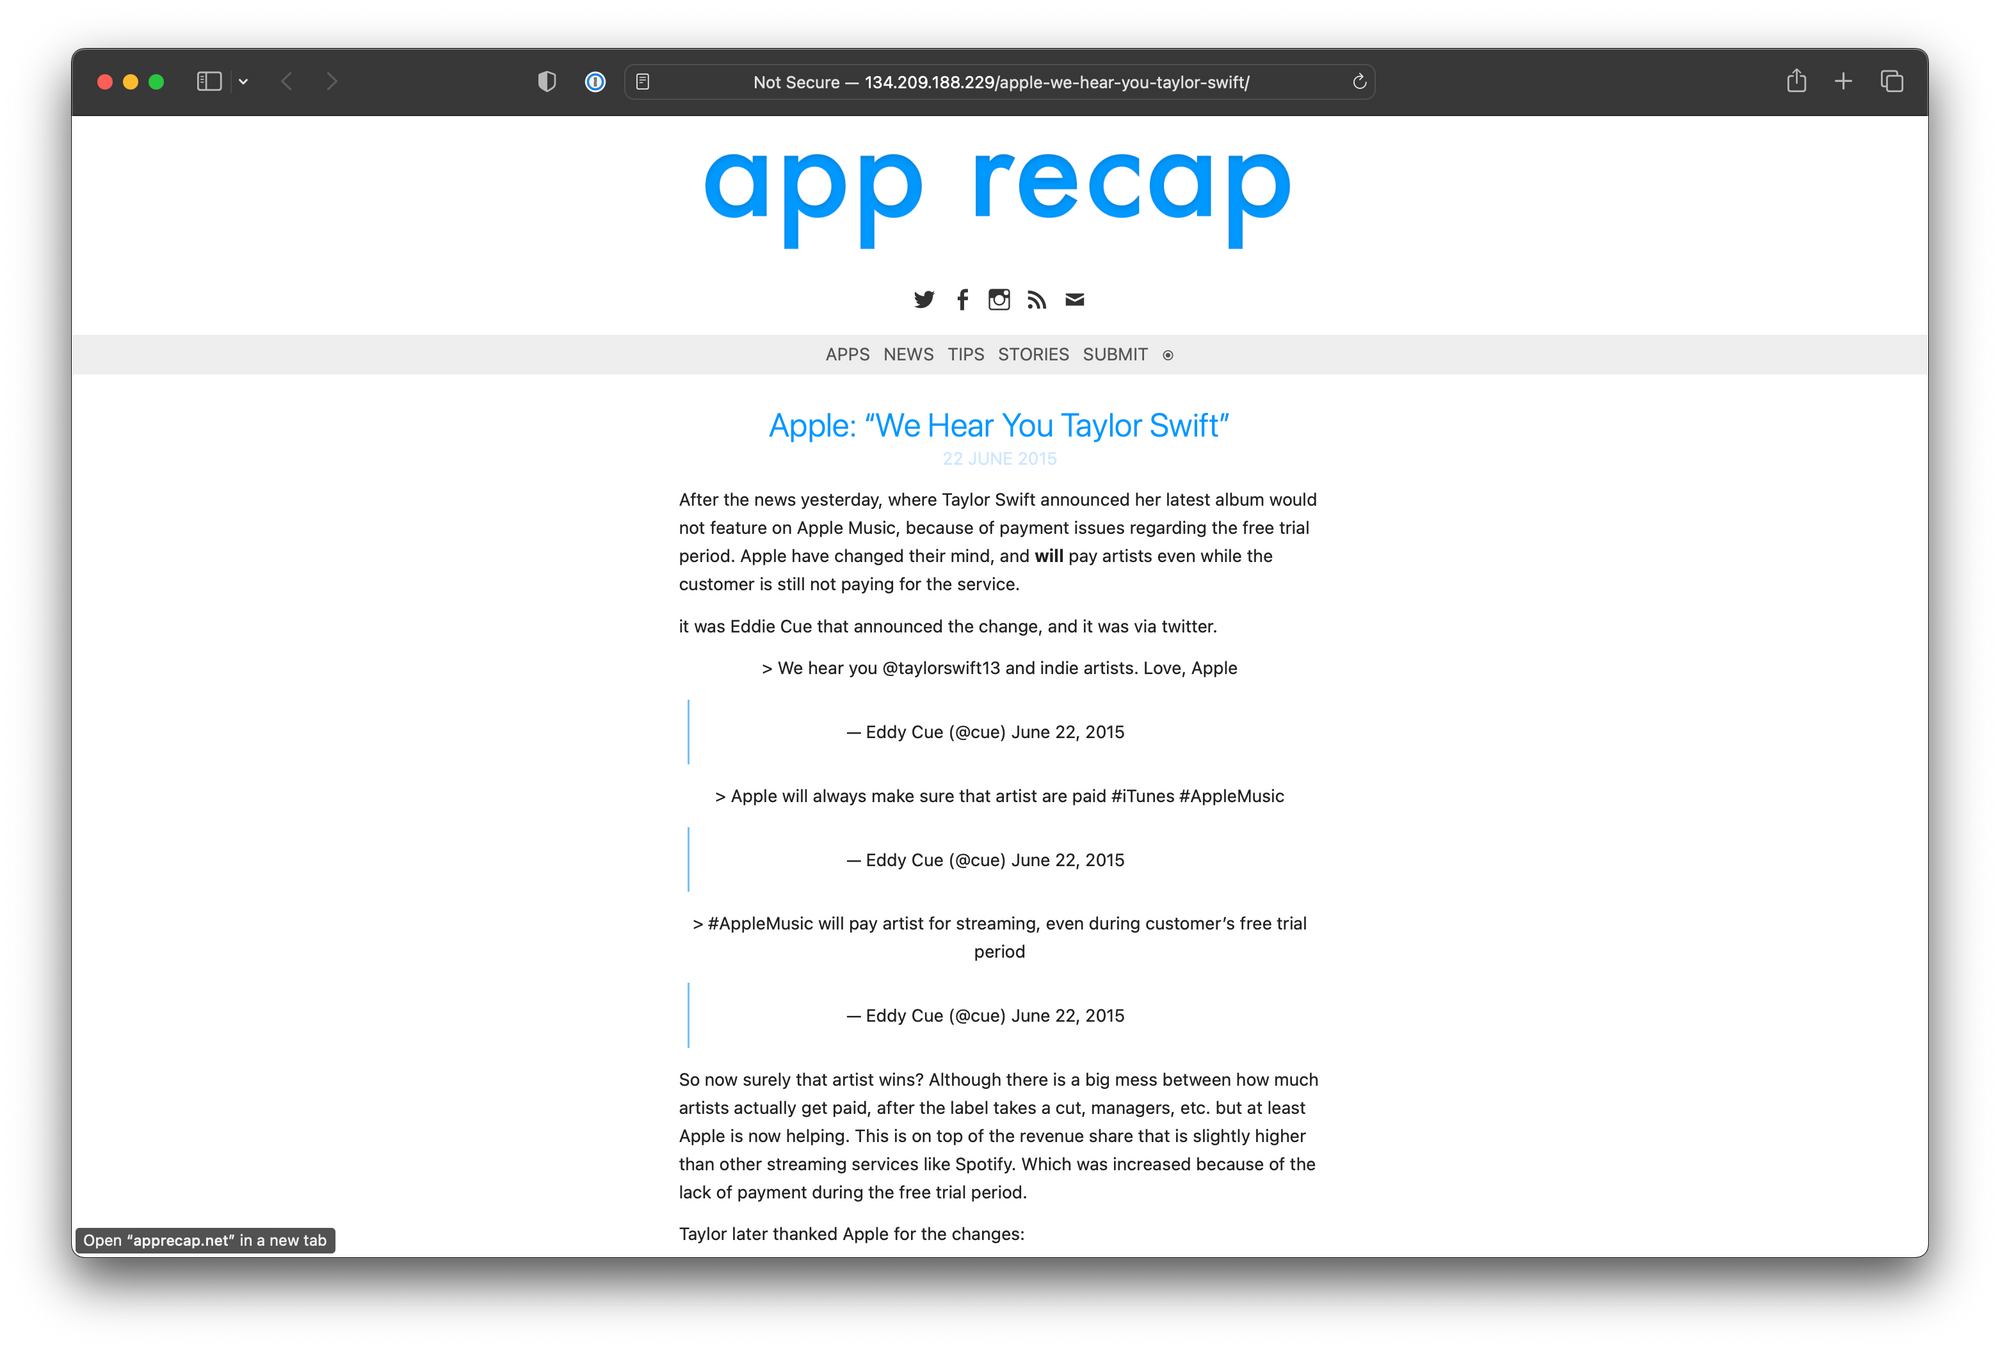
Finally, so I have at least some visual memories of the website, here are a few screenshots of it's final form.
The first blog post (that was available in this backup, I'm pretty sure older ones have been lose):
The last blog post:
And a small glimpse into the sort of content I thought was relevant:
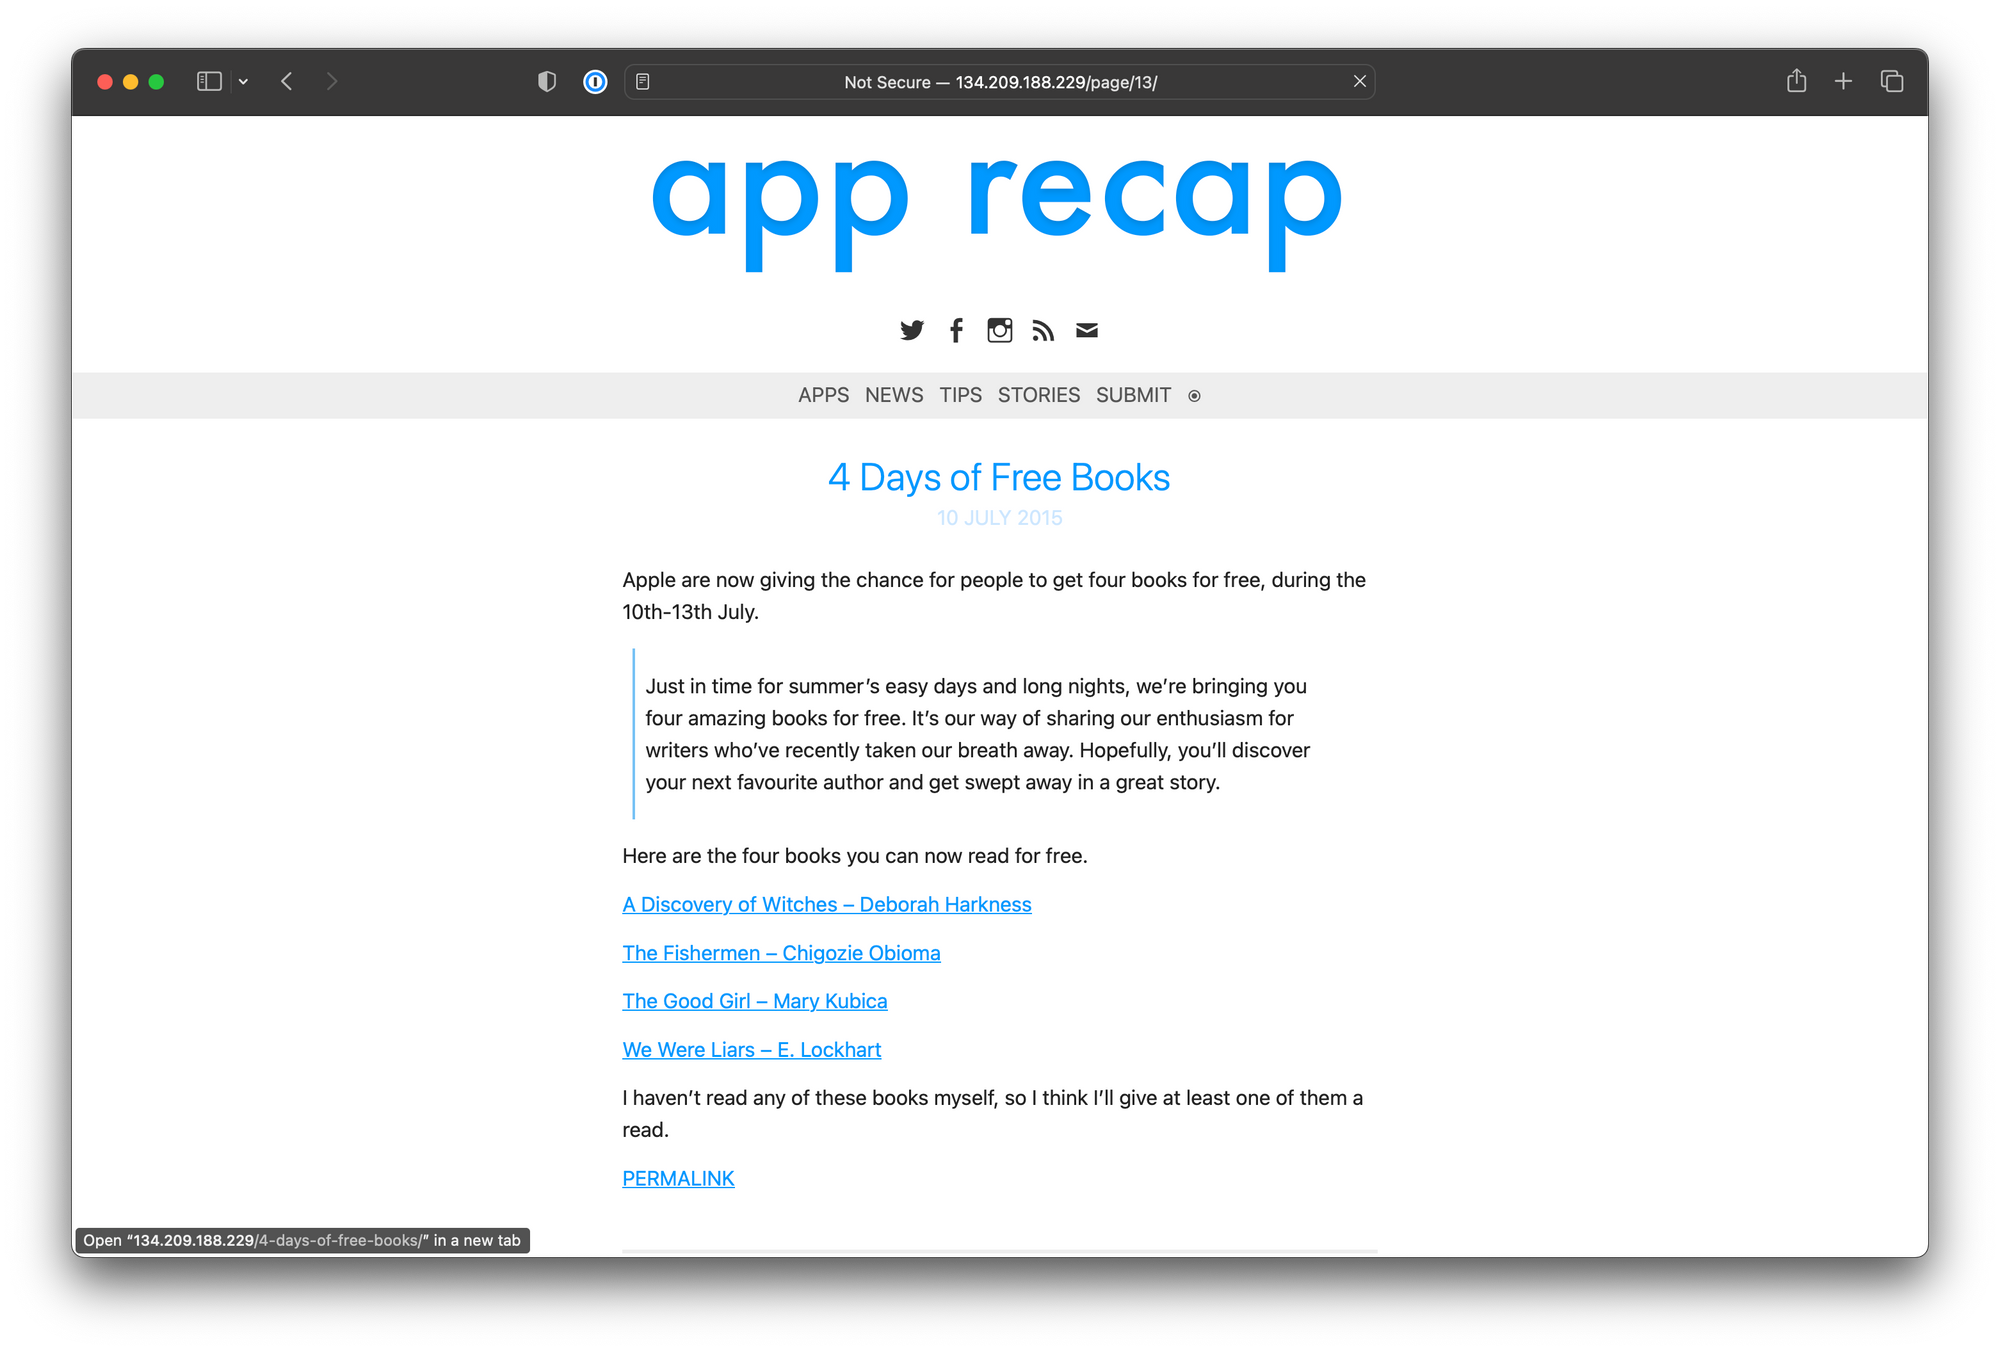
(It wasn't.)
